Technical Information
PietraPave Technical Specification
A comprehensive product testing programme has been carried out by AECOM the largest engineering consulting company, with world-class expertise in pavement engineering, at their Nottingham pavement engineering laboratory
Properly installed PietraPave acts as an excellent flexible pavement surface material which has a long life and high strength. The testing mentioned above included permeablility and the susequent design guidance provides for both conventional pavements and also permeable pavements where Sustainable Drainage Solutions are required. Full pavement section deign guidence in line with BS7533:7 abd BS7533:10 is available to download.
“The report provides comprehensive design solutions for PietraPave and Permeable Pavements. The guidance is based upon many inputs as the report explains including, most importantly, the authors 20 years experience of the successful use of permeable pavements in many categorise of pavements. From an engineering perspective the important part of the PietraPave system is the resin based jointing material. It has high strength to provide excellent stability whilst at the same time remaining flexible so the pavement does not crack. The finished PietraPave surface has similar engineering properties to the long-life asphalts now used to surface UK motorway carriageways”
John Knapton BSc PhD DSc CEng FICE CIHT
Paving Made Easy
The PietraPave installation process makes the laying of even the most large and complex natural stone projects as quick and simple as possible. There are a number of essential steps to follow to ensure every project is completed to the highest standard.
1
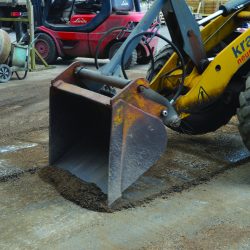
GROUNDWORK
Pedestrian & Domestic Driveway
Excavate the ground to the correct depth, allowing for ; 150mm of type 1 sub base, 40mm of zone 2 grit sand and also for the thickness of the paving (30mm)
Vehicles Up To 7.5 Tonne
Excavate the ground to the correct depth, allowing for; minimum 300mm of Type 1 sub base, 40mm of zone 2 grit sand and also for the thickness of the paving (30mm)
2
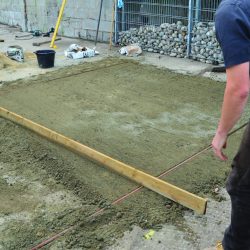
SUB BASE
Compact the sub base fully with a vibrating plate, making sure that there are no voids left in the surface
3
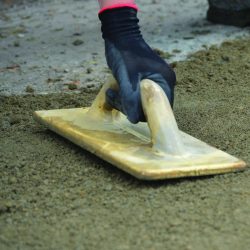
BEDDING LAYER
For the bedding layer, screed out the grit sand to a consistent depth of 40mm observing any required falls
3
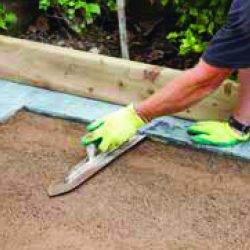
EDGING
Before laying commences, ensure all edge restraints are installed and haunched with concrete
5
LAYING MATS
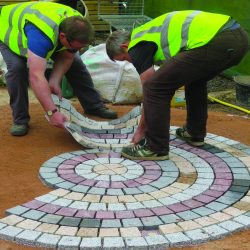
Commence laying of PietraPave mats in your prefered pattern, whilst maintaining a consistent joint width throughout.
For more intricate designs, each hand-crafted pre-cut mat will be numbered, further simplifying the installation process.
6
BORDERS
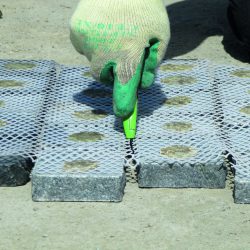
Complete laying of paving, cutting the mats where required to create uniform boarders where necessary
7
COMPACT
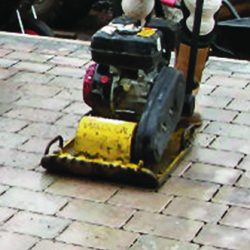
Using a vibrating plate with a rubber mat, compact the paving into the bedding layer to achieve finished levels
8
JOINT FILLING
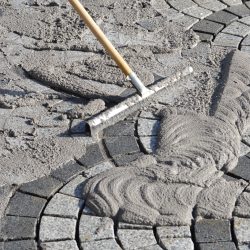
Fill in the paving joints with PietraPoint, as described on the joint filling data sheet.
For larger projects receiving heavy traffic there are variations on the groundwork preperations and PietraPoint product required
